Showing posts with label tutorial. Show all posts

Tuesday, August 12, 2014

Cushy Bobble Bath Mat {crochet pattern}


cushy bobble bath mat crochet pattern from tinsnips & scissors

Cushy Bobble Bath Mat


MATERIALS:

9mm/M hookAran cotton yarn, doubled


Stitch guide:


sl st: slip stitch


bobble: pick up next stitch, yo, pull through, yo, insert hook into same stitch, yo, pull through, yo, insert hook into same stitch, yo, pull through (6 stitches on hook), yo, pull through all six stitches


sc: single crochet


ch: chain stitch


DIRECTIONS:

Chain 50, ch 1 turning stitch
(increase in multiples of 2 stitches)
*bobble 1, sl st 1*; rep from *to* to end, ch 1 turning stitch

Repeat row 1 39 more times (until mat measures approximately 24" x 15")

cushy bobble bath mat crochet pattern from tinsnips & scissors

Sunday, August 26, 2012

Back to school!!!

Yep, it's that time of year again!  I had the joy of sending my little ladies off to their new first grade and third grade classes on Wednesday, and mister O gets to start at his pre-K class on Monday!  What am I ever going to do with myself with no kids home for half the day???  ...my hope is that I'll get more housework done...

In preparation for school,
the girls spent some time making a WHOLE BUNCH of hair accessories!

Here is my girls' debut as bloggers; a tutorial on hair accessories:


Rye: We made alooooot of crafts!

Moo: Mommy helped us with our hairbands and such...

Rye: ...and we were late for dinner....

Moo: We used barrettes and hair ties,
and for some of the hair ties, we wired beads on.

Rye: I wired beads on a headband and it is really pretty....
and we did a lot of headbands.
We also hot-glued beads and jewelry glued this really pretty headband,
and it has a matching hair tie.

Moo: I made a Hello Kitty headband, it has Hello Kitty ribbon on it.
We hot-glued the ribbon on so that it looks wavy.
We put little dots of hot glue on in different spot and we pressed the ribbon onto the glue
- and then we did it to both sides.

Rye: I made a barrette with a hot glue gun,
but I found the button yesterday...  it came off of the barrette.
I learned to not put a button on a barrette using hot glue.
I should have used a wire or jewelry glue.

Moo:  I made a purple, fuzzy headband with some trim
that you could put on lamps or on the bottoms of purses,
because Riley and I were talking about maybe doing that for our next project.
I made the headband by taking some trim and I jewelry glued it to a headband.
I had to pinch it really tight so the trim wouldn't move while it was drying.
Then, I took some of the excess trim and then I, um, took a purple hair tie (so it would match)
and I found a wire that would go with it -I like yellow, so I did a yellow wire- it was a small wire.
I wrapped the wire around the trim and then I twisted it onto the hair tie.  

Rye:  Mommy made this pretty clip.
It had gold trim on it, and ribbon flowers.
She jewelry glued it all onto a clip.  

And she made a big barrette with a button holding some feathers together,
she hot-glued them and then jewelry glued the hot-glue onto the barrette.

Moo:  I have a tip for people who use barrettes for crafts;
don't hot glue the  stuff down.
You should use jewelry glue because hot glue and metal (or plastic)
don't stick to each other.
Hot-glue the, like, feathers together and then get your barrette ready
and put some jewelry glue on it after the hot glue is dried.


Please give my girls feedback and let them know how they did!  Thanks!  <3

Wednesday, February 8, 2012

A gift for my readers...

...Menu planner printables! (click on the link below the picture to print....  please let me know if you're having any issues printing these, thanks!)


Enjoy!  

(use these with my menu planner tutorial)

Also, please note that this is *not* my artwork...  this is all stuff that I got off of sites offering images for free, such as 4to40.com and others that I can't remember at the moment.

Tuesday, February 7, 2012

Apparently, I can't write while I'm listening to music that I love...

....because I want to start writing the lyrics!  So, rather than a post about my menu planner, you're going to get Regina Spektor lyrics instead.  That's cool, right?

No, I'm kidding....  but if you really want to sing along, here's the playlist I'm listening to:


Anyway, earlier tonight I realized that I didn't take any meat or anything out for dinner....  after posting this dilemma on Facebook ("Hmm...What to make for dinner tonight....?"), I got a few suggestions from some friends and a comment from my mom, "What's on your menu board?!?!?"

Oops.  

So, I went to my kitchen and grabbed it.  I filled out what we ate last night and went to work at filling it out for the rest of the week.  (Thanks for keeping me on track, Mom!)

Here's what it is: 
  • a 8 1/2" x 11" picture frame from the dollar store
  • a dry-erase marker
  • a piece of paper to fit your frame with the days of the week printed on it (I cut some scrapbook paper to fit and avoided using color ink that way)
  • some ribbon or string to hang the marker from the frame and to hang the frame if you like - I used hemp for mine
  • staples to secure the string for the marker to the frame
I think you can figure it out from there.  It literally took about five minutes in all.  Here's how you do it:
  1. Cut the paper to fit your frame and print the days of the week on it.
  2. Take the back off of the frame and clean the glass on the inside.  Let it dry.
  3. Fit the paper into the frame and put the back on the frame.
  4. Cut your ribbon or string to the desired length and tie it around the cap of the dry-erase marker (you can glue it if you please)
  5. CAREFULLY staple the other end of the ribbon or string to the *back of the upper right corner* of the frame
  6. You could be done now if you wanted to be, or you could tie a loop of ribbon or string to the back of the frame ( I just tied mine to the little metal hangie thing that was already on the frame)
  7. Hang it up in you kitchen or dining room
  8. Write your menu on it!
I totally made that more steps than it needed to be just to make it look like it was more work than it really was.

This is what mine looks like...
...but I made four or five inserts because I have decorating ADD.

I'm going to try to put together a few different styles of meal planners to share with you, my readers.  Hopefully I'll have them up in the next couple of days...  If I don't, please bug me about them 'cause I probably just spaced it out due to the chaos that comes with motherhood.  

Monday, November 28, 2011

Another wreath...

...It's a different one, but this time I'll show you how to make it! Yay!


Materials: 
  • sticks/small branches
  • scissors
  • eye protection
  • hot glue gun
  • foam core or cardboard, cut into a ring shape
  • scrap fabric, cut into strips and/or ribbon (optional)


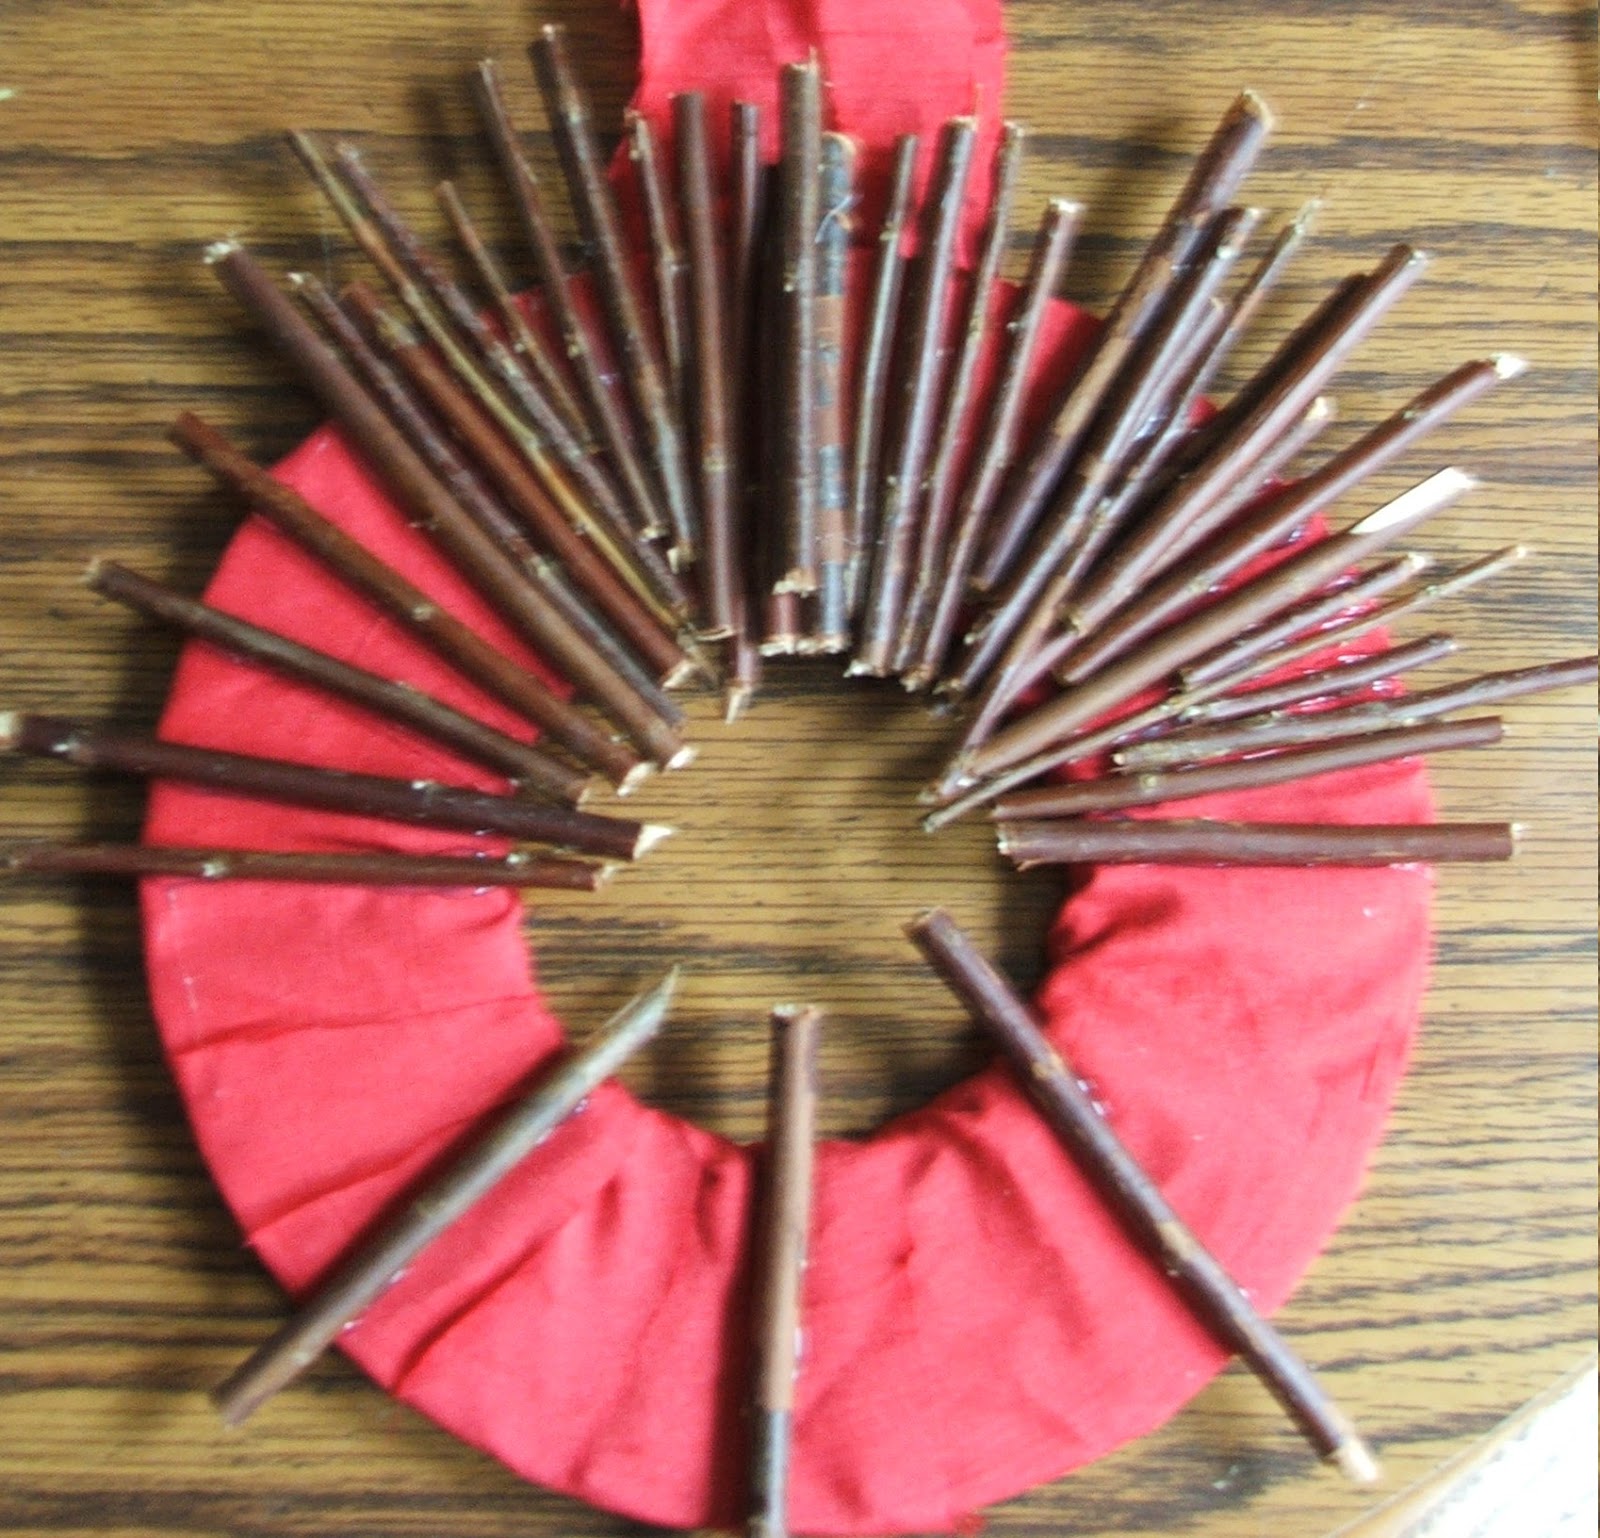
Glue one end of the fabric to the back of the wreath shape and begin wrapping to cover so that no cardboard is showing.

When it's completely covered, hot glue the end and trim.  Attach a ribbon for hanging, or leave the tail of the fabric and hot glue into a loop (which is what I did).

Now, take your sticks and begin breaking them so that they're about an inch to an inch and a half longer than the width of the wreath.  My wreath is about 2" wide, so my sticks are about 3"-3 1/2".  If it helps, use the scissors to score the sticks where you want to break them. You should be wearing EYE PROTECTION while doing this...


Do your hands hurt now?  

Begin placing sticks evenly around your wreath, hot gluing as you go....


Keep filling it in..........


......and voilĂ !  You're done!


What did you think of my first tutorial?  Did you find it helpful?  Did it all make sense to you?  Please comment!

...and thanks for reading!